Accurate bra measurements are essential for comfort, support, and confidence. Many women wear incorrect sizes, but understanding how to measure correctly ensures a proper fit. Learn the basics of bra sizing to find your perfect match effortlessly.
How to Prepare for Measuring
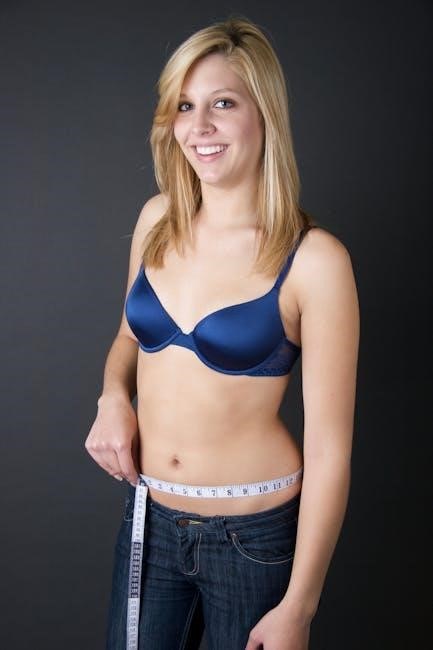
Wear a non-padded, snug-fitting bra and use a soft measuring tape. Stand straight with arms at your sides. Ensure the tape is level and not too tight; Measure bare-skinned for accuracy.
Tools Needed for Accurate Measurements
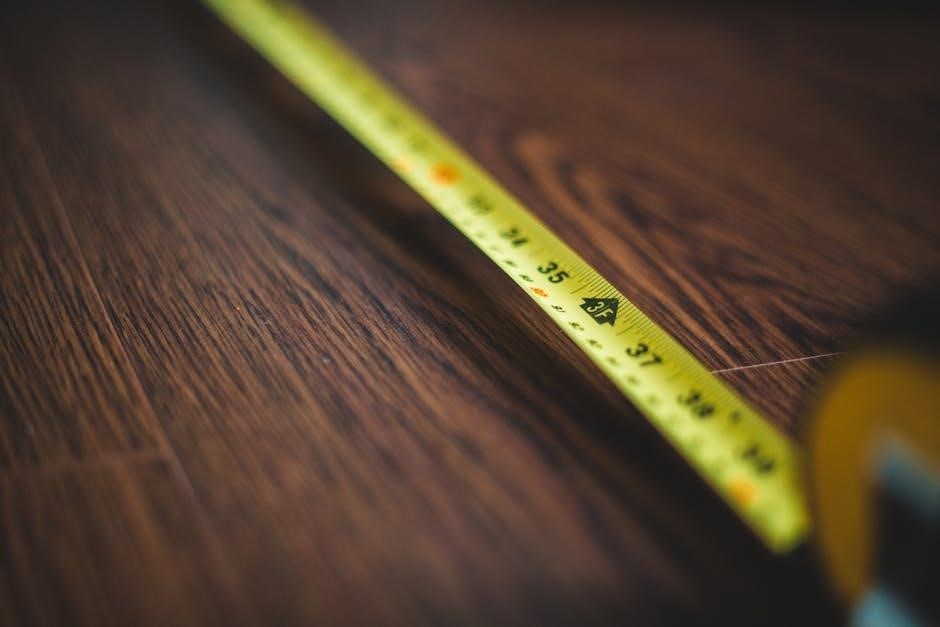
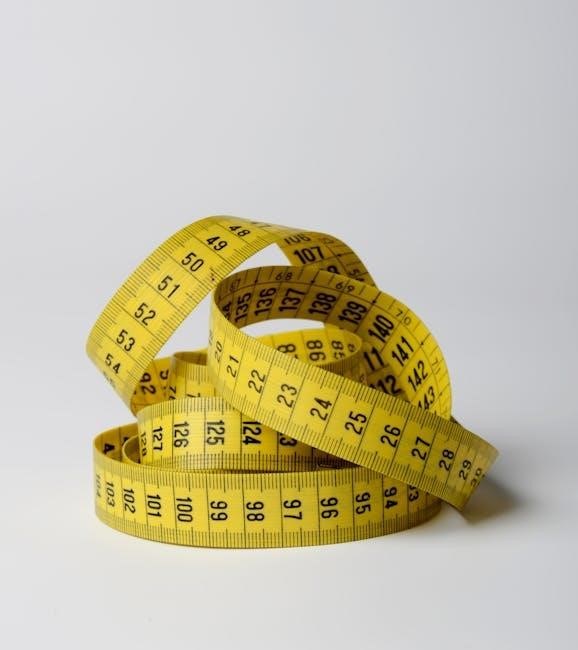
To ensure precise bra measurements, you’ll need a few essential tools. A soft, flexible measuring tape is crucial—preferably one designed for sewing or tailoring. It should be in inches or centimeters and have a snug fit without stretching. While digital tapes are convenient, a traditional cloth or plastic tape works best. If you don’t have a measuring tape, a ribbon or string can be used as an alternative—simply wrap it around your body, mark the point with a pin or your fingers, and measure the length against a ruler. Additionally, wear a non-padded, well-fitting bra to provide a natural shape and support during measurement. A mirror is also helpful for visibility, especially when measuring the band size. Lastly, ensure your posture is straight and consistent for accurate results. Having these tools ready will streamline the process and ensure your measurements are reliable.
Best Practices for Measuring
For accurate bra measurements, follow these best practices. First, ensure you’re wearing a non-padded, snug-fitting bra that reflects your natural shape. Stand upright with your arms relaxed by your sides to maintain consistent posture. When measuring the band size, the tape should be level and snug around your torso, directly under your bust. For the bust measurement, place the tape over the fullest part of your breasts, keeping it parallel to the floor. Avoid pulling the tape too tight or too loose, as this can lead to inaccurate results. It’s also important to exhale slightly while measuring the band to ensure the tape isn’t too constricting. Consider measuring at the same time of day, as fluctuations can occur due to factors like bloating or activity level. Lastly, double-check your measurements by taking them twice to confirm consistency. Following these guidelines will help you achieve precise measurements for the perfect bra fit.

Measuring Your Band Size
Measure your band size by wrapping a tape snugly around your torso, directly under your bust. Ensure the tape is level and parallel to the floor for an accurate fit. Exhale slightly for the best result.
Step-by-Step Guide to Band Measurement
Prepare your tools: Use a soft, flexible measuring tape. Ensure it’s not stretched or damaged for accurate results.
Position yourself: Stand straight with your arms relaxed by your sides. Keep your posture natural and consistent.
Locate the measuring point: Place the tape around your torso, directly under your bust, where a bra band would typically sit.
Wrap the tape: Ensure the tape is snug but not overly tight. It should feel comfortable, like a well-fitting bra band.
Level the tape: The measuring tape must be parallel to the floor and evenly spaced around your torso.
Take note of the measurement: Read the number where the tape overlaps. This is your band size in inches or centimeters.
Adjust if necessary: If the measurement is between sizes, round up to the next whole number for the best fit.
By following these steps, you can accurately determine your band size, ensuring a comfortable and supportive bra fit.
Determining Your Cup Size
Cup size is calculated by comparing band and bust measurements. Subtract the band size from the bust measurement to find your cup size. Each inch difference corresponds to a cup size increase.
Calculating Cup Size for the Perfect Fit
To determine your cup size, subtract your band size from your bust measurement. For example, if your band size is 34 inches and your bust is 37 inches, the difference is 3 inches. Each inch corresponds to a cup size: 1 inch = A, 2 inches = B, 3 inches = C, and so on. Ensure the measuring tape is snug but not tight, and level with the floor. For accuracy, measure while wearing a non-padded bra or no bra. If your measurement falls between sizes, round up to the next cup size. Remember, cup sizes vary slightly between brands and regions, so refer to the specific size chart for the most accurate fit. Proper cup size ensures the bra cups encapsulate your breasts fully without gaping or digging. Regularly checking your measurements ensures your bra continues to fit well, as sizes can change over time due to factors like weight fluctuations or aging.

Understanding Bra Size Charts
Bra size charts vary by region and brand, making conversions between systems essential. Use charts to align your measurements with global sizing standards, ensuring a consistent fit across different brands and countries.

Regional Differences in Bra Sizing
Bra sizing varies significantly across regions, with different standards in the USA, Europe, UK, and Australia; For instance, European sizes often have smaller cup sizes compared to American measurements, while UK sizes may align more closely with European standards. These differences can make international shopping challenging. Understanding regional sizing charts is crucial for finding the right fit when purchasing bras from global brands. Always refer to the specific size chart provided by the brand, as they may adapt their sizing to local standards. Additionally, some countries have unique sizing systems that don’t directly correlate with others. To navigate these differences, use a reliable bra size conversion chart or consult the brand’s sizing guide. This ensures accuracy and consistency, regardless of where the bra is purchased. Regional variations emphasize the importance of double-checking measurements before making a purchase.
Factors Affecting Bra Size

Bra size can change due to weight fluctuations, hormonal shifts, aging, and pregnancy. These factors can alter your band and cup measurements, requiring regular reassessments to maintain a comfortable fit and proper support.
Common Fit Issues and Solutions
Many women face common bra fit issues, such as a band that is too tight or too loose, cups that gape or spill over, straps that dig into the shoulders, and a center gore that doesn’t lie flat against the chest. To address these problems, ensure the band is snug but not restrictive, as it provides most of the bra’s support. If the band rides up, it may be too small. For cups, choose a size that fully contains your breasts without excess space. Straps should be adjustable to relieve pressure; if they consistently dig in, consider a wider strap style. The center gore should rest flat against your sternum; if it doesn’t, the cup size may be too small. Regularly reassess your size due to changes in weight or body shape; Proper fit enhances comfort, posture, and confidence, making it worth the effort to find the right style and size for your body.